


Elden Ring: Shadow Of The Erdtree Guide – How To Get To The Abyssal Woods – If you ever wanted to see what it would be like to turn Elden Ring into a survival horror game, then FromSoftware presents a taste of that in its new DLC, Shadow of the Erdtree.
The Abyssal Woods area is about as close to a survival horror game as FromSoftware has ever been. Firstly, combat is sparse and actively not recommended. Second there are multiple enemies who you have no means of actually defeating, and third it’s pretty damn terrifying to be caught.
If all of that sounds enticing and you absolutely need to find a way to this area, then this guide will show you how to get there, and how to get to the main boss of the area, which is also one of the better bosses in the whole DLC.
Related News – Check out our other guides for Elden Ring: Shadow of the Erdtree to help you on your way through the Realm of Shadow
Elden Ring: Shadow Of The Erdtree Guide – How To Get To The Abyssal Woods
It Begins With A Coffin
In the base game, there are two coffins that transport you to areas that are otherwise inaccessible. The same is true for the Abyssal Woods, but the coffin is more a means not just to a single secluded area, but a whole chunk of the map you’d have no other way of getting to.
Which already sounds unlike FromSoftware, since there’s usually a few paths you can take to get anywhere. Not this time.
That’s why the journey to the Abyssal Woods begins at the Shadow Keep, so you’ll have to have made your way to the Scadu Altus and all the way through the Shadow Keep just ahead of where you take an elevator up to the Specimen Storehouse.
In fact, you’ll probably find it easier to begin this journey from the Storehouse, First Floor site of grace and work backwards. If you’re doing this, then you’ll need to turn left once defeating the Fire Knight that guards the elevator. If you’re not working backwards, then you don’t need to bother with the knight and can stay to the right.
- On the left side of the right-hand path, after avoiding or defeating the group of Vulgar Militiamen you’ll find a ladder, semi-hidden by debris that goes all the way down to the bottom of a waterfall.
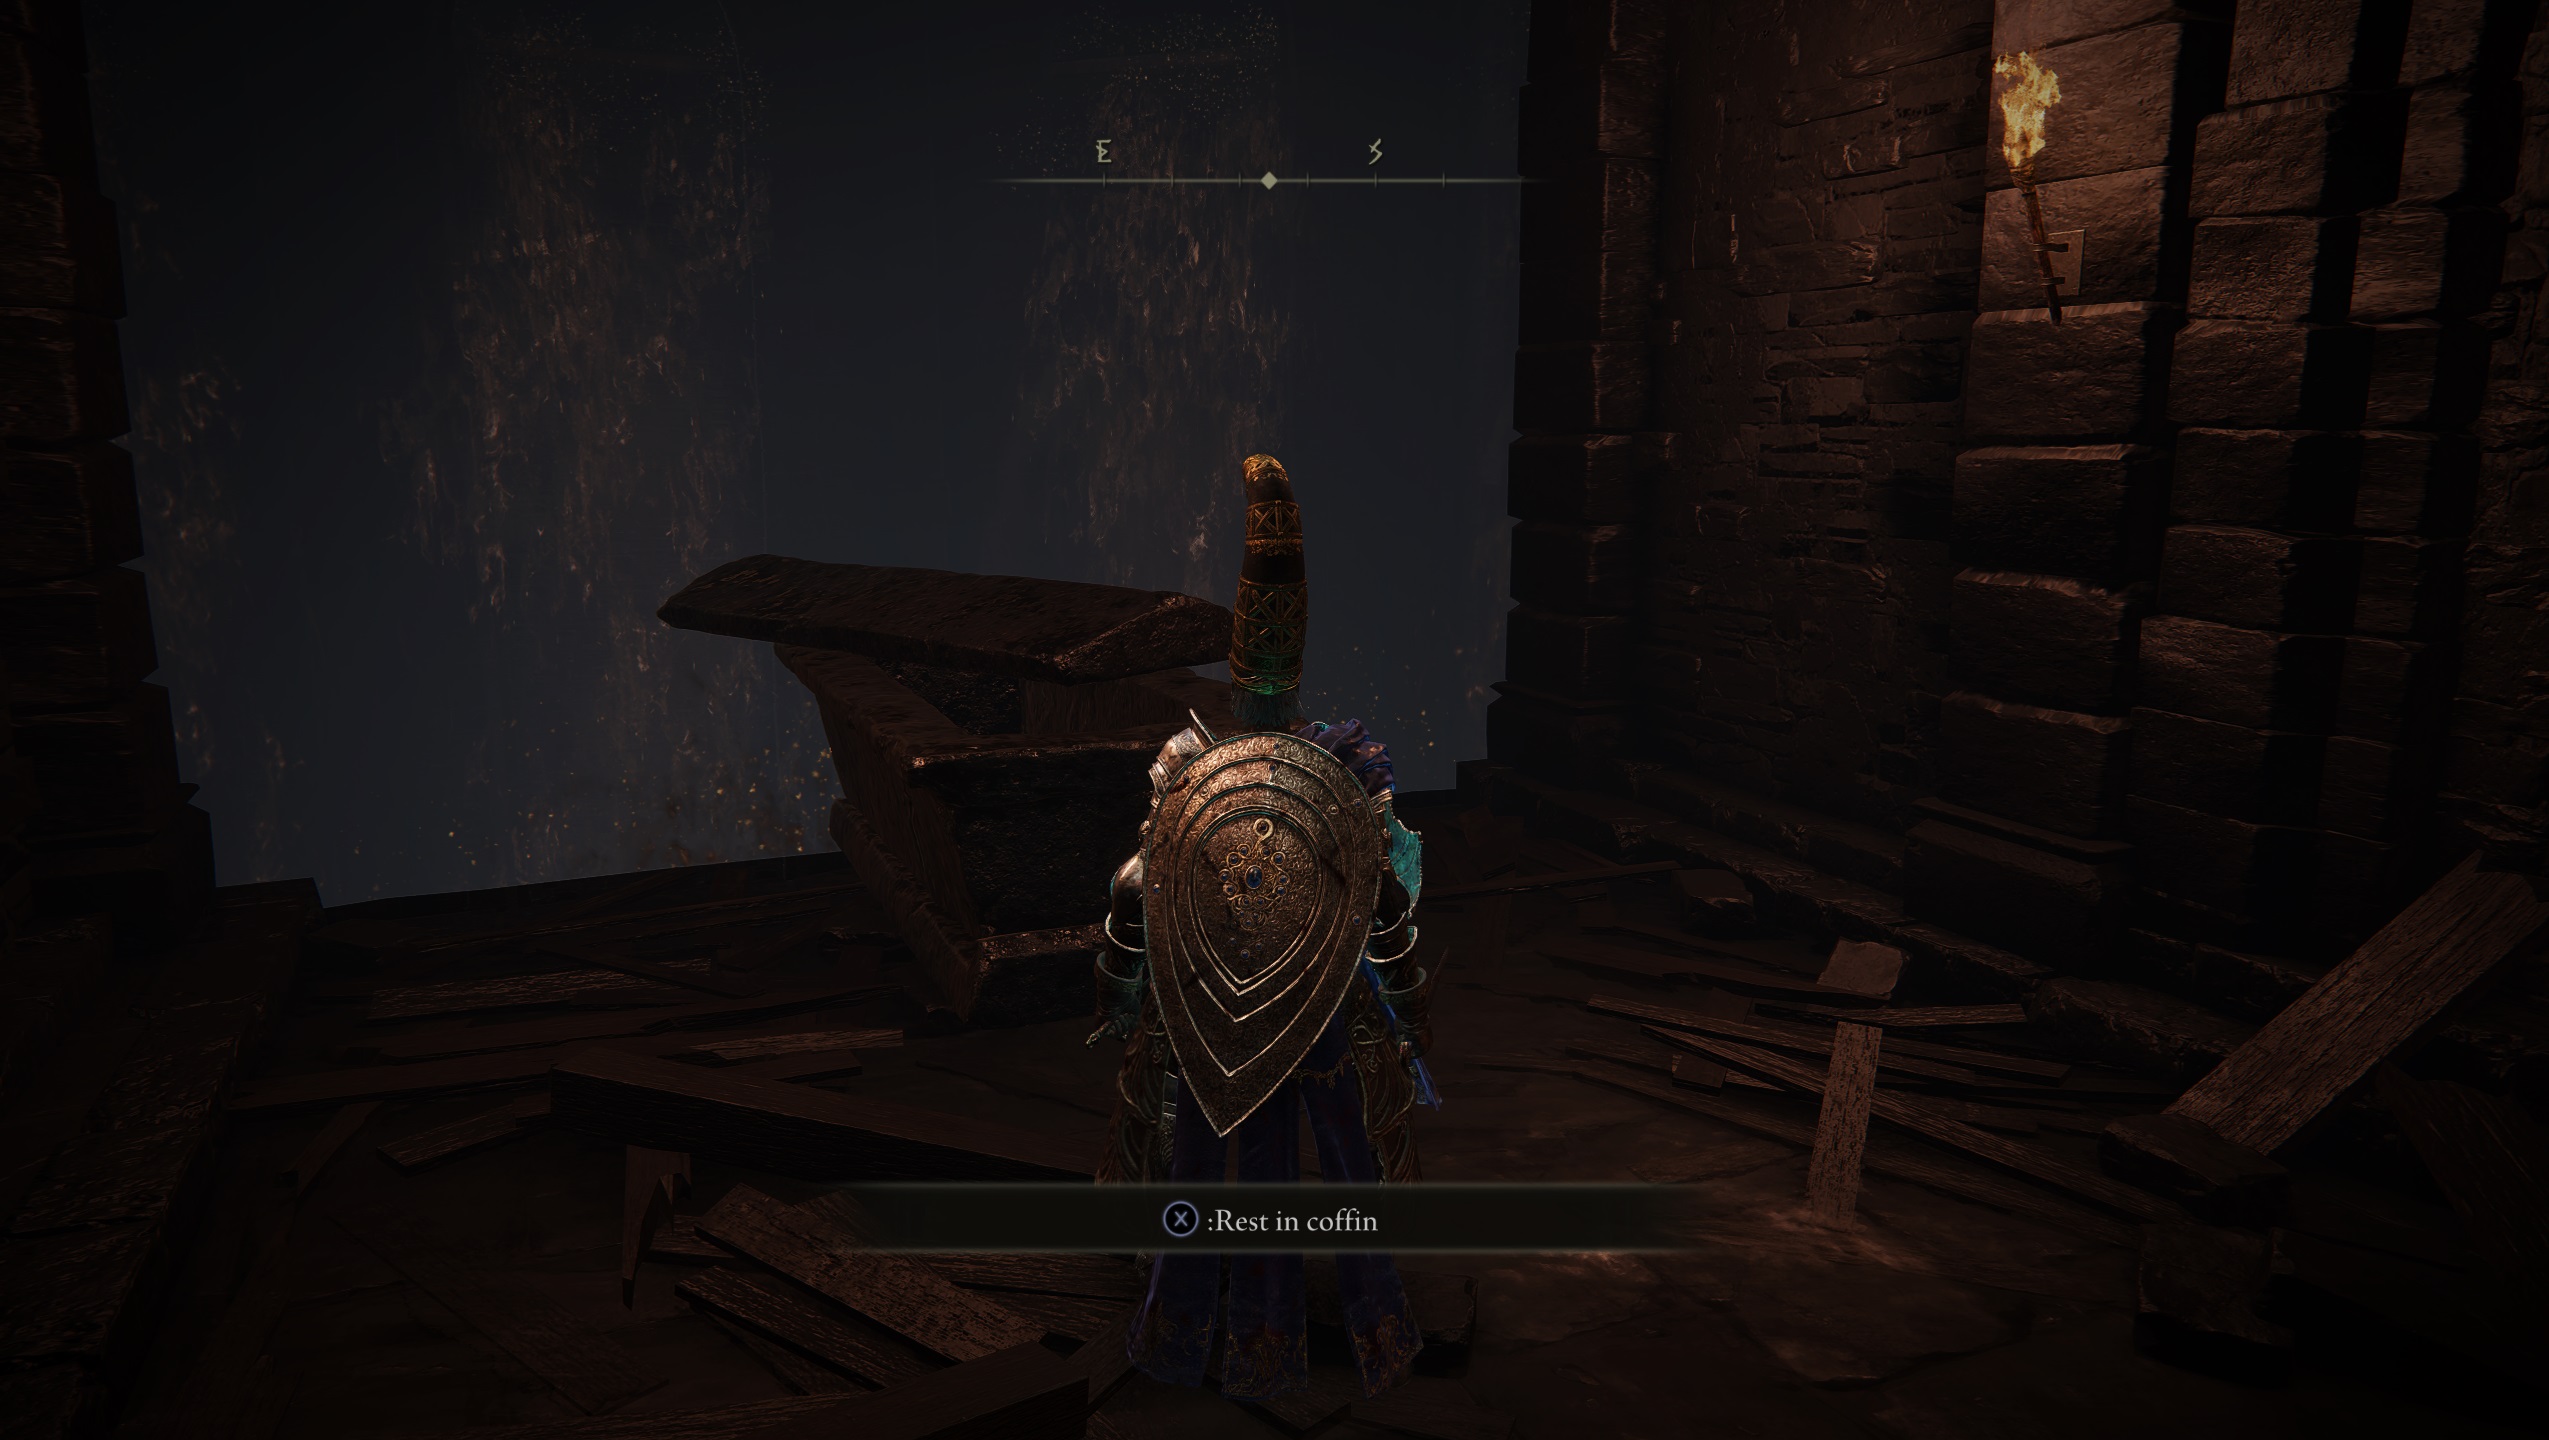
- Behind the waterfall is a ladder, head down and you’ll see a painting at the end of the tunnel. To the right of the painting is an illusory wall with another tunnel behind it. Follow the tunnel and you’ll see the coffin. Lay in it to continue.
- From here travel south-east past a Furnace Golem that’ll wake up as you ride past. Avoid it or fight it, your call. Keep heading south-east and you’ll find the Recluses’ River Upstream site of grace.
- Similar to how you reach the Cerulean Coast, all that’s really required of you at this point is to follow the river south, but unlike the path to the Cerulean Coast you’ll need to do some more platforming as you head south and down towards the base of the river at the same time.
- Keep heading south while looking for paths down towards the base of the river and you’ll find the Recluses’ River Downstream site of grace. Stick to that same path, and as you head down be wary of enemies as you continue.
- Stay to the cliff while you keep heading down, and after a series of big jumps you’ll hit a final one where you land in a field of stone coffins and the statues that point towards catacombs. You’ll also find another party of Vulgar Militiamen here, so be ready to take them out.
- Among the coffins and statues, there’s a path that leads to the Darklight Catacombs.
- Make your way through the Darklight Catacombs, where you’ll be lead to a boss fight against Jori, The Elder Inquisitor.
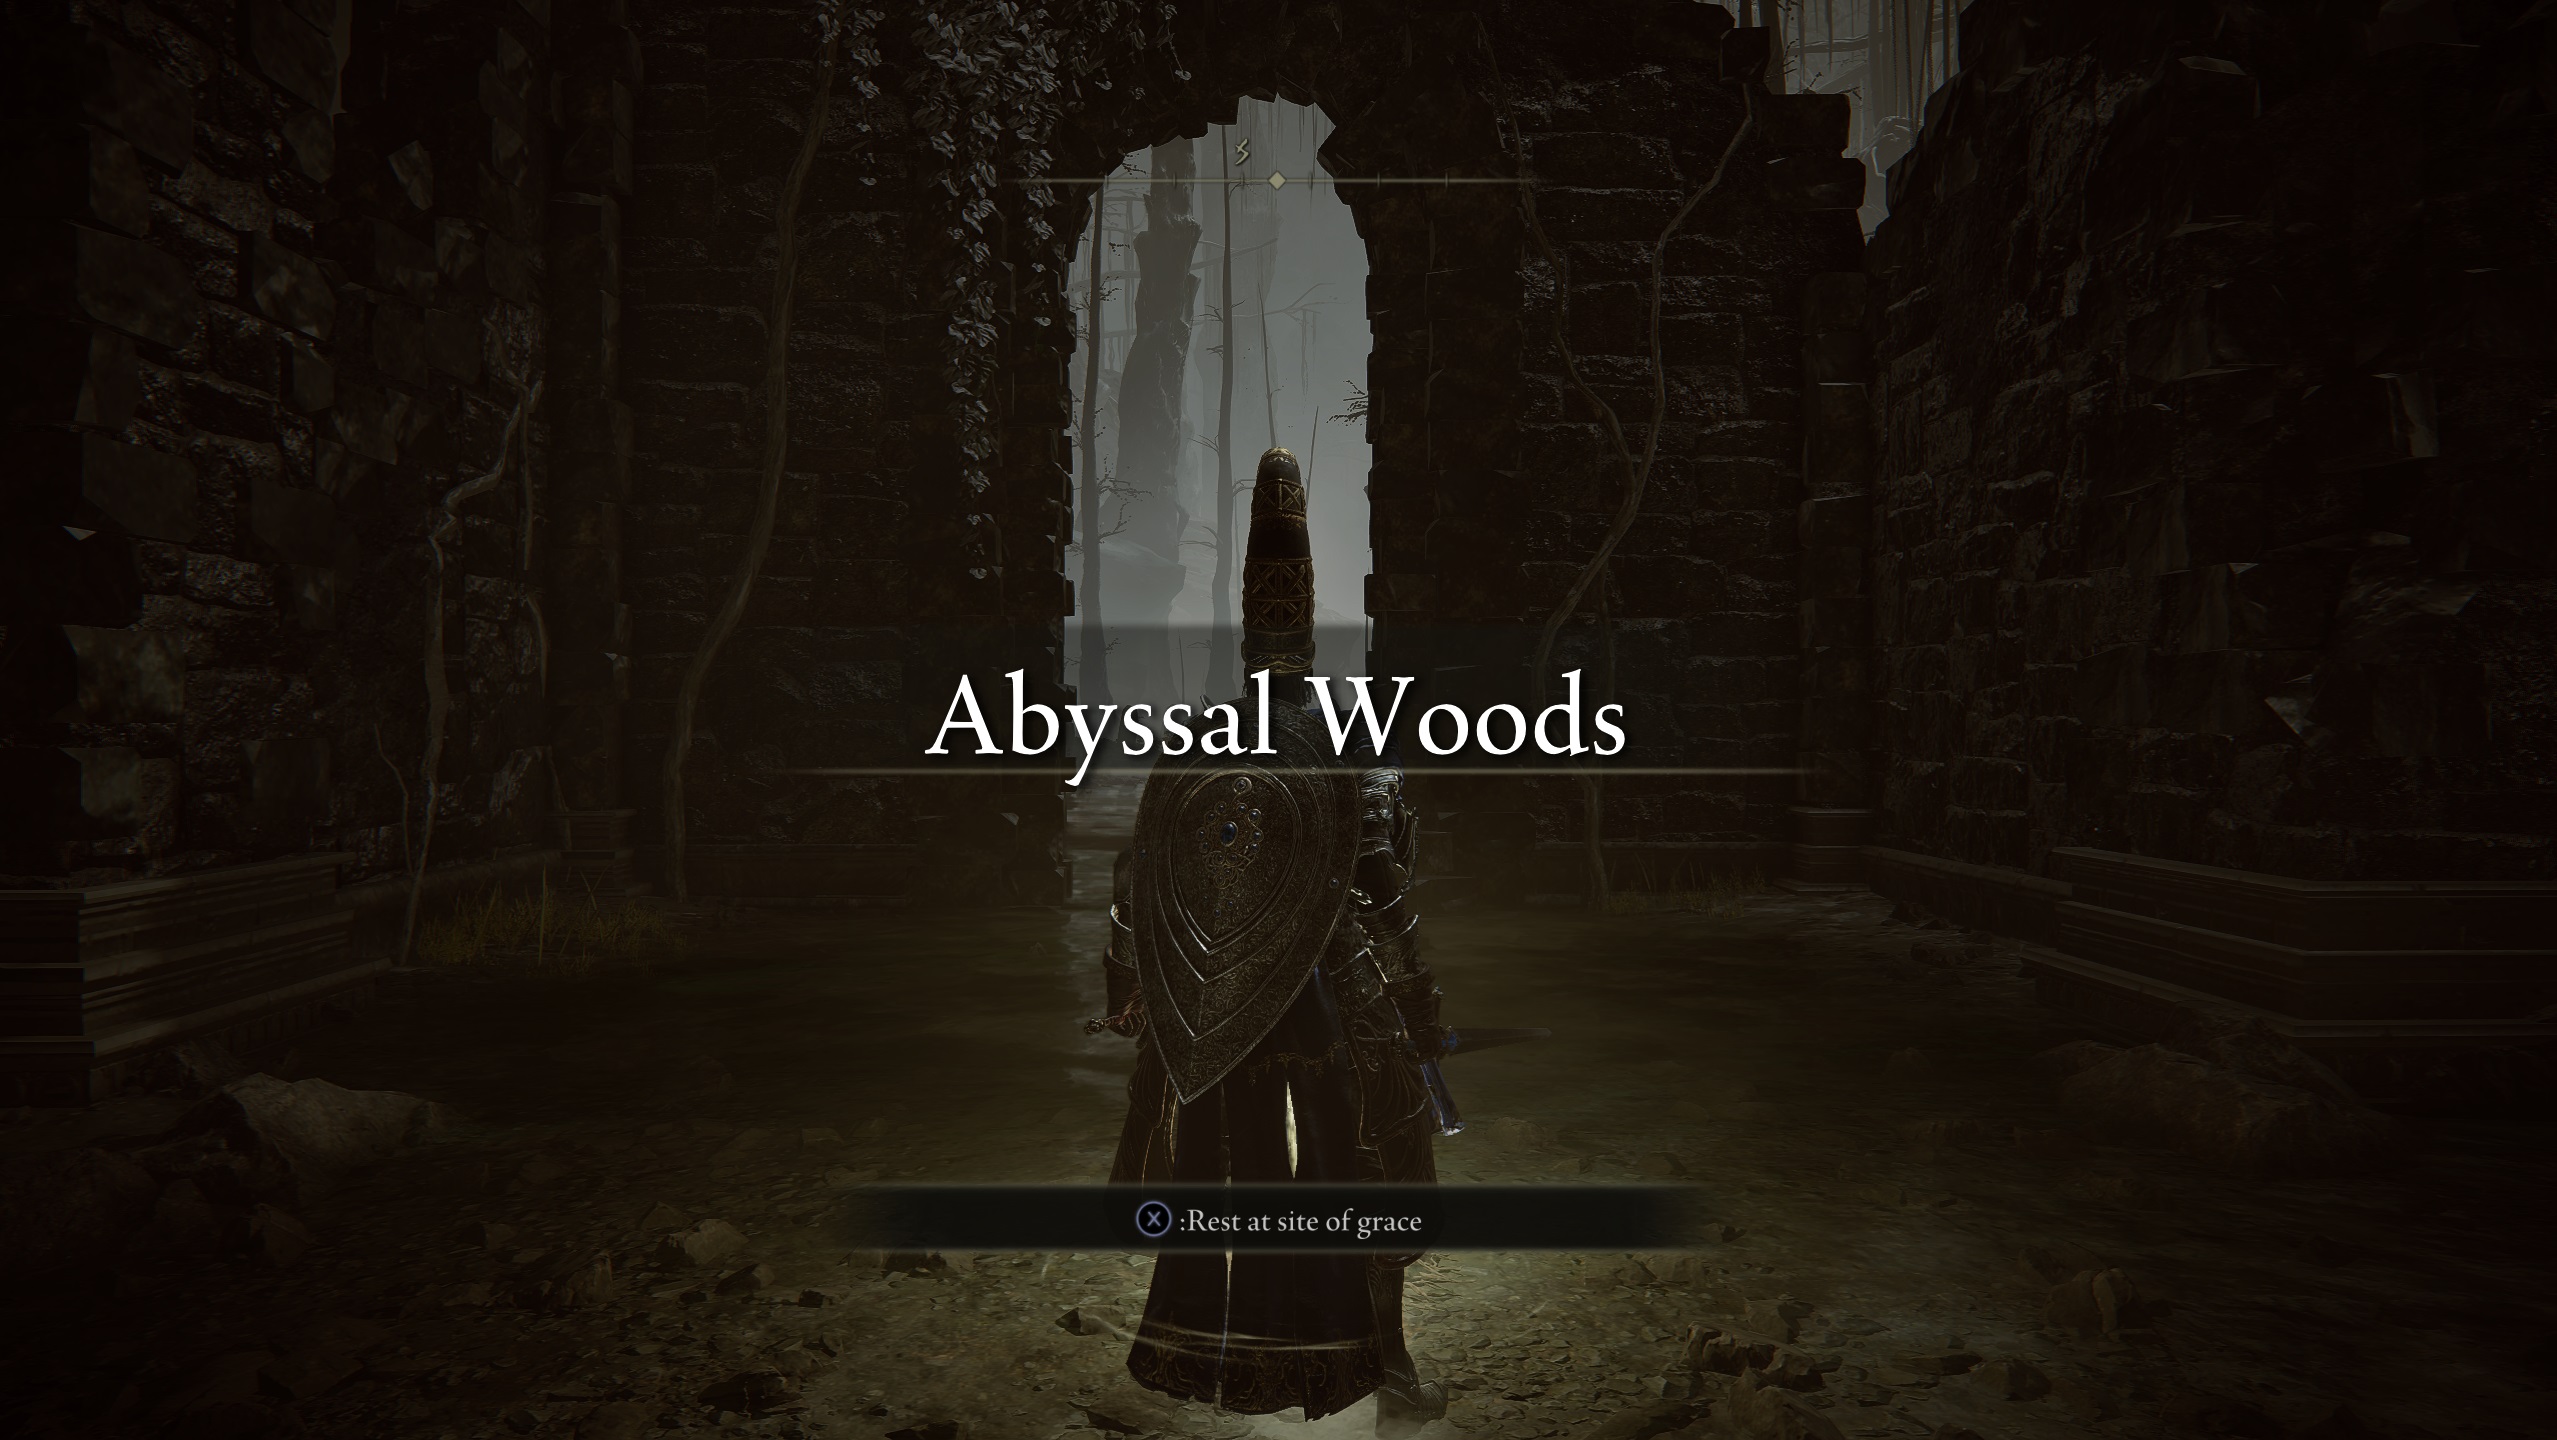
Once you’ve beat Jori, you’ll be able to walk out to the Woodland Trail site of grace, and you’ve officially made it to the Abyssal Woods, just continue down the path for the next site of grace.
Getting To Midra, Lord Of Frenzied Flame
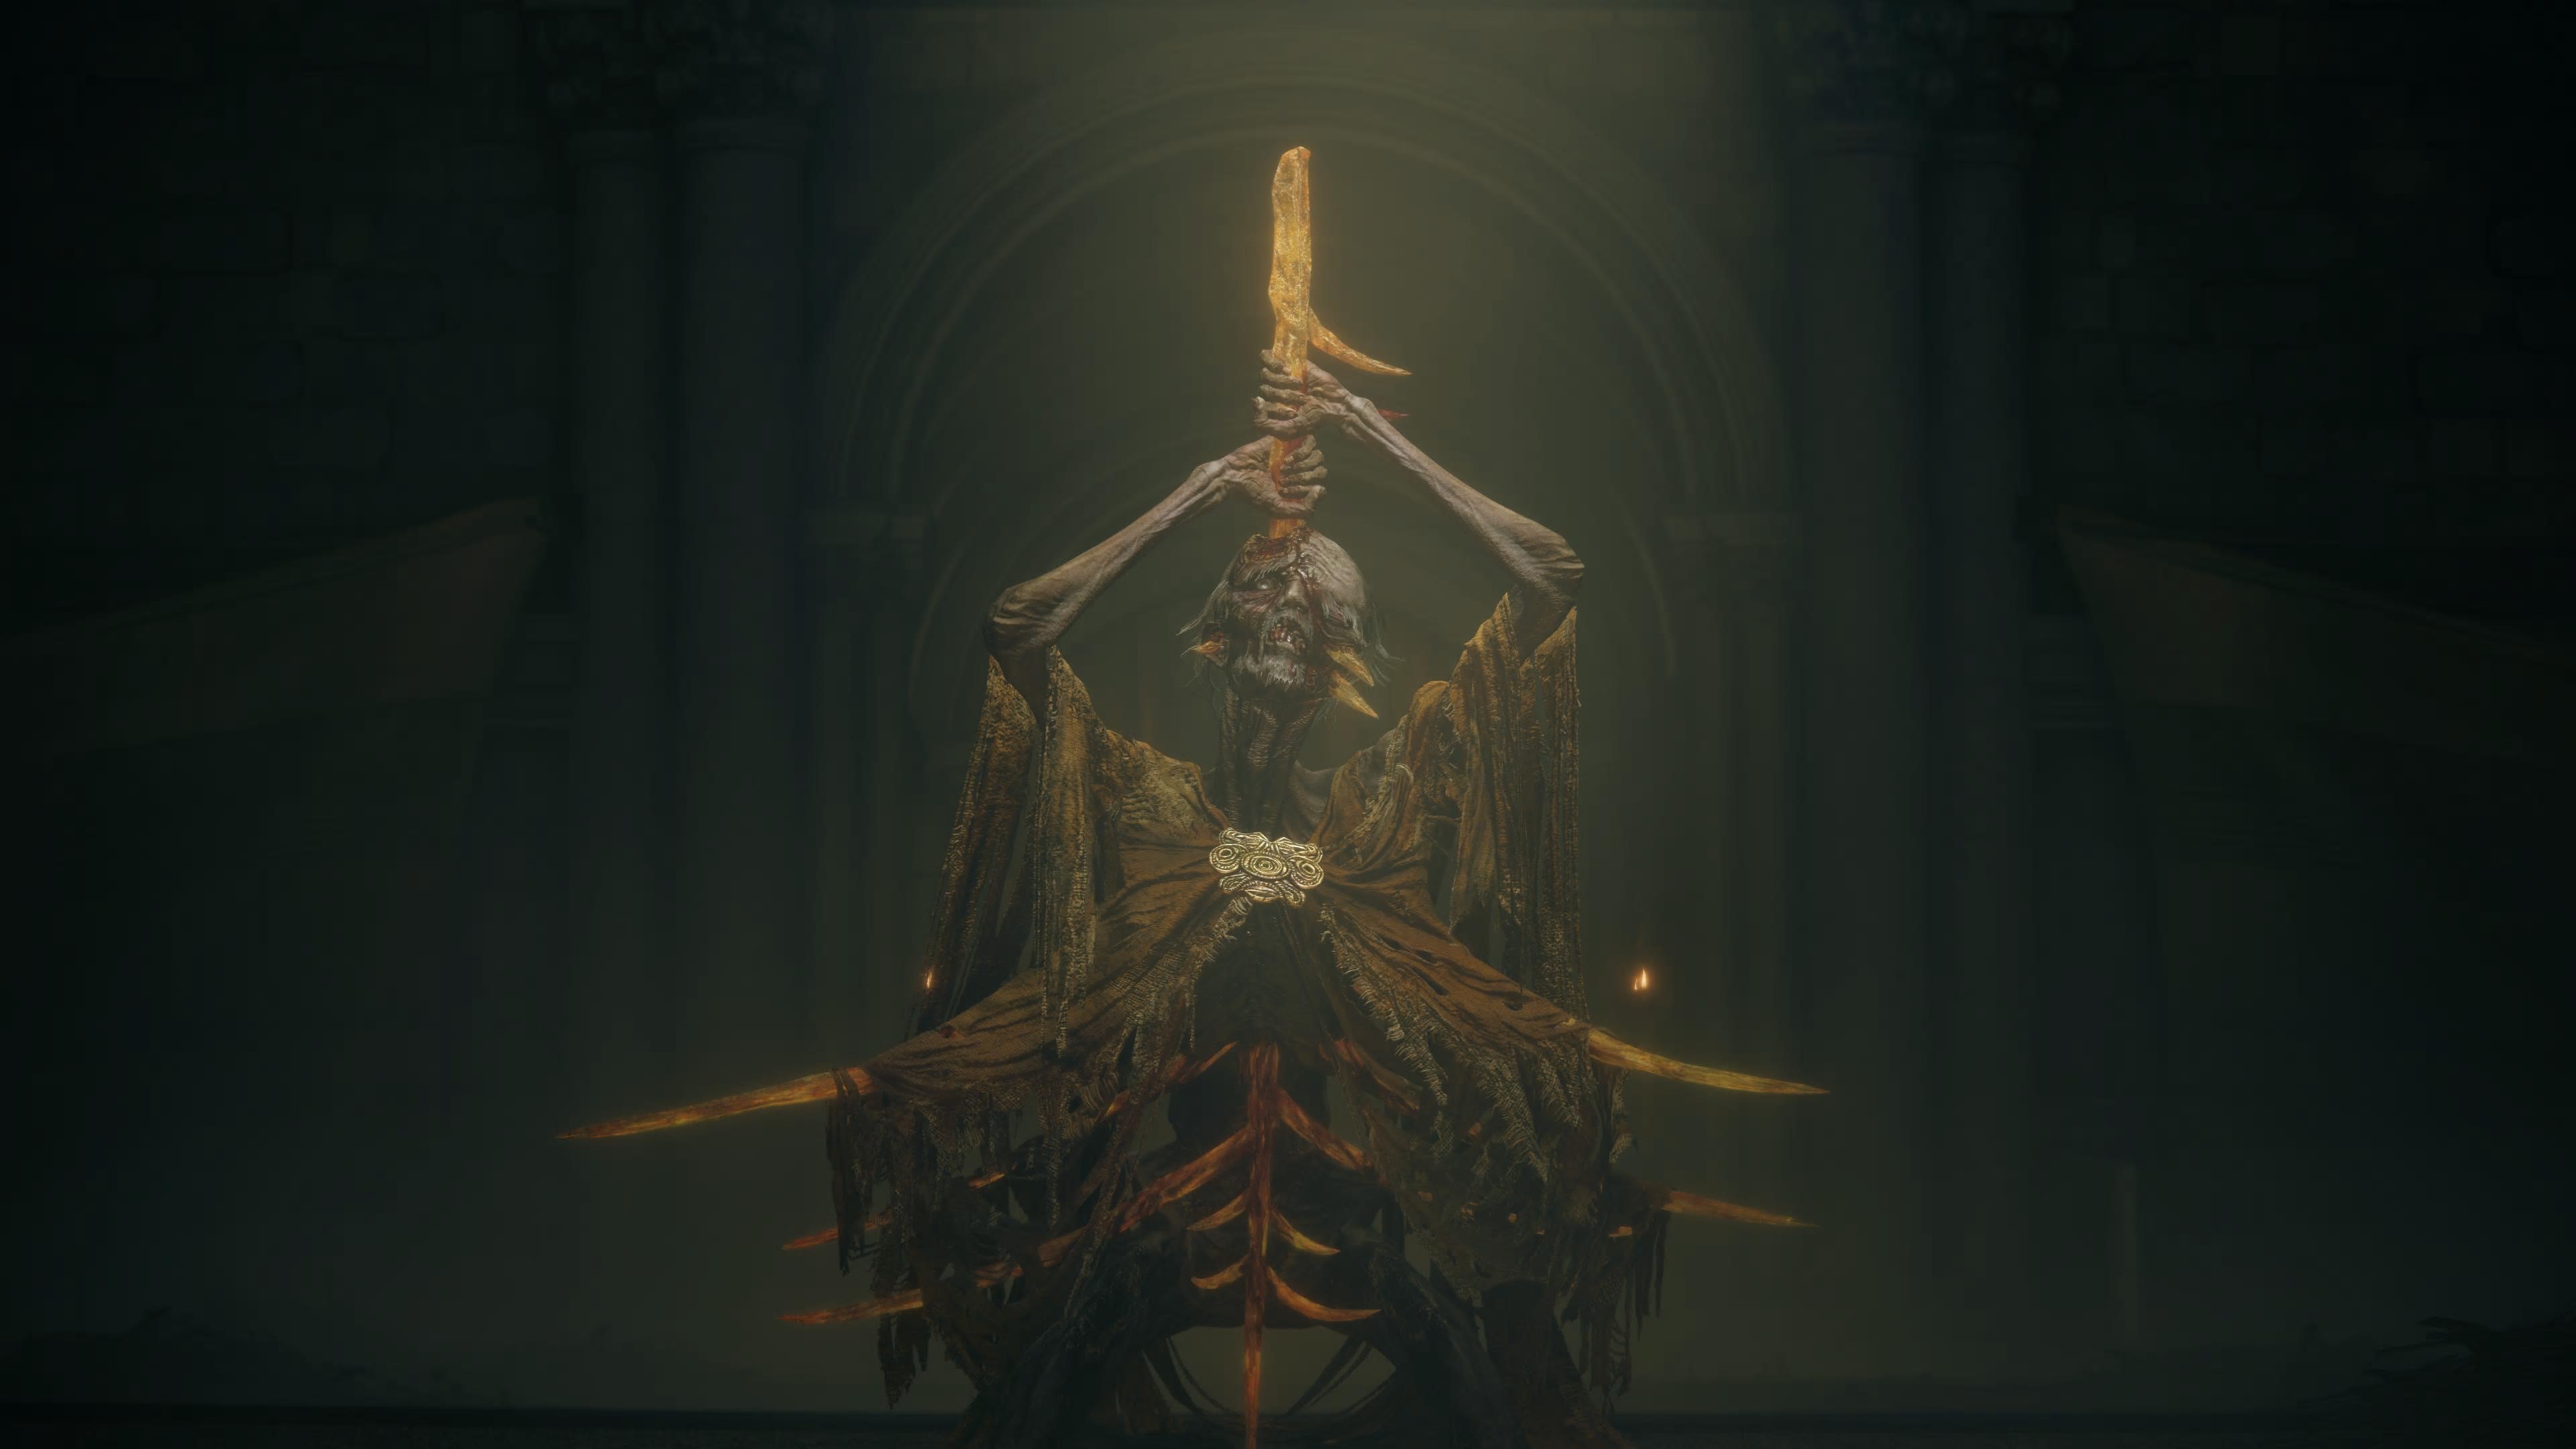
Regarding the boss fight against Jori, you’ll want to have some kind of holy damage negation applied, as his incantations hit hard. He’ll also continuously summon spirits to attack you, and teleport around the arena if he’s taking too much damage.
If you let it drag out too long, Jori can overwhelm you with his spirits easy, especially the big enemies he’ll conjure. But if you can keep his focus on you and make sure to head right to him when he teleports, you can do a lot of damage very quickly.
Once Jori is done and dusted and you’ve moved on into the Abyssal Woods area, head south-east to get the map for the area. You’ll also find an Abandoned Church and a site of grace for it, along with another Scadutree Fragment and a perfume bottle weapon, this one being of the Frenzied Flame variety.
Of course you don’t need the map fragment to find Midra but it helps all the same. Because the main direction to follow is to just head to the south-west corner of the Abyssal Woods.
There you’ll find Midra’s Manse, and further inside Midra, Lord of Frenzied Flame – arguably the best boss fight in the DLC.
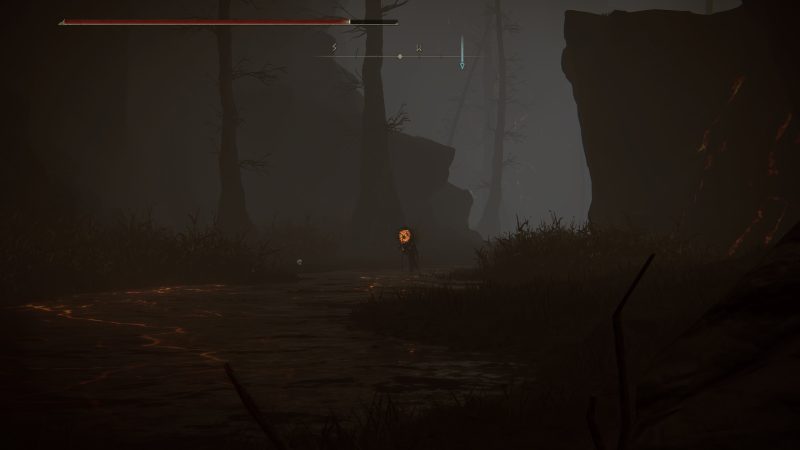
Much as I think they should be a surprise, I’d be remiss if I didn’t mention that there are these enemies you’ll want to avoid at all costs. Pictured above, if they see you, they will chase you down and kill you. You can’t fight back, you can only run away, and pray you get to a site of grace in time to reset them.
If you’re caught, that’s it. So just don’t get caught, easy as pie.